The Adventure Dollhouse Assembly
- Jackie Anderson

- Dec 3, 2022
- 3 min read
Updated: Jul 19, 2023

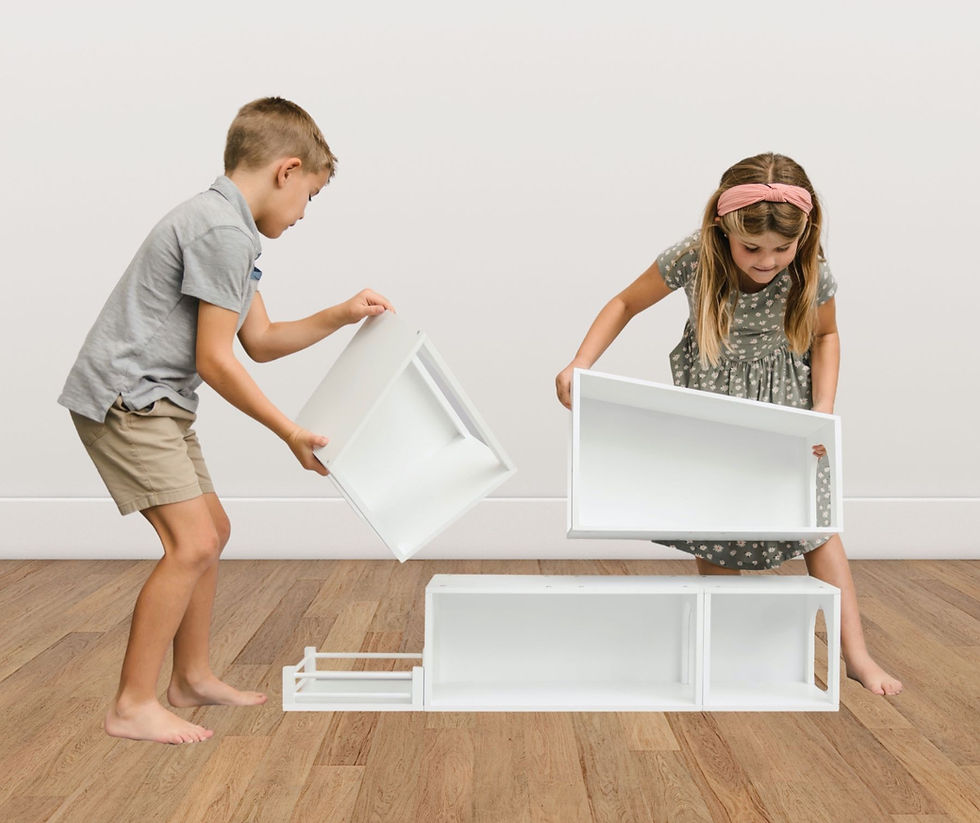
Thank you so much for purchasing The Adventure Dollhouse! Your support means the world to me. I promise assembly is super easy and will take you less than 45 minutes. Let's get started so your littles can get to playing.

Each room comes in its own package so your box will contain 5 plastic-wrapped bundles. The only tools you'll need for assembly are a Phillips head screwdriver, rubber mallet, and a clean cloth. A tip for all of the rooms: screws are inserted through the side that has the recessed holes. For the main rooms, the assembly is pretty much the same. Line up the grooves of the side wall with the floor, and insert screws from the bottom of the floor into the side wall. Insert the back panel into the groove (the logo should face the outside). Line up the groove of the other side wall, and attach it with screws. Place the roof on top by lining up the groove and insert the screws through the top of the roof into the side walls. I'll give room specific instructions below.
Single Rooftop
I suggest assembling this room first because it will help you confirm which is the floor of the single and double rooms (this will make sense in a minute). You can tell the difference between the floor and roof because the roof has slightly angled edges.
Single Room
The roof of the single room should be labeled with a U. To confirm which is the floor and which is the roof, use the magnets from the single rooftop you already assembled. The single rooftop will be attracted to the roof and repelled by the floor. Put the roof to the side and stick with the floor first. Follow the same instructions from the beginning of this post.
Double Room
The roof of the double room should be labeled with a U. To confirm which is the floor and which is the roof, use the magnets from the single rooftop you already assembled. The single rooftop will be attracted to the roof and repelled by the floor. Put the roof to the side and stick with the floor first. Follow the same instructions from the beginning of this post.
Double Rooftop
You can tell the difference between the floor and roof because the roof has slightly angled edges. Put the roof to the side and stick with the floor first. Follow the same instructions from the beginning of this post.
Patio
The patio is the only room that doesn't have magnets, and it's the only room where you'll need the rubber mallet and rag. Use the mallet to gently tap the dowels into the holes of the posts. When attaching the posts to the dowels, use a rag to protect the painted finish from the mallet. Make sure the pre-drilled holes on the posts are all facing the same way. Line up the pre-drilled holes on the posts with the holes of the floor. Get all of the screws started before tightening them.

You did it! The dollhouse is assembled and ready for playing and learning. Please encourage your child to be gentle when rearranging the rooms because the finish could become chipped with rough handling. In the event a magnet comes out, simply use super glue to reattach it.

I really, really love seeing how your littles play with the dollhouse. Their imaginations are so much better than mine. It would mean so much to me if you could share photos and videos with me. You can always tag me on Instagram @mini.adventures.co. Have fun playing with The Adventure Dollhouse where one dollhouse gives your child infinite adventures.


Comments